Showing posts with label [Decorate]. Show all posts

Monday, March 7, 2011

Big Boy Bedroom

A few weeks ago I shared this art shelf HERE I completed as part of lil G's big boy room revamp.  We spent a lot of time and effort creating his baby room...but it was just that "a baby room".  And my big boy need a room that reflected his personality and what he likes.  So here is the finished project...
I made these "no sew" curtains this weekend to finish off the look for the room.  I picked up the striped fabric at IKEA to match the bright colored bedding and accessories.
His changing table was transformed to a book shelf and we added some brightly colored baskets (also from IKEA) to store his toys and hide away the diapers and wipes we are still using (for right now).  The truck book end was a Home Goods find before lil G was born.
His crib is now a toddler bed.  He loves the cars and trucks comforter...anything to encourage him to sleep in his own room!
And he can't get enough of driving his "powece car" and trucks around his city play mat.  The cars and trucks wall decals I picked up at Target.  When we put them on the wall this weekend lil G didn't want to leave the room...we literally had to drag him out of there. That's when you know you have been successful in the eyes of a 2 year old!

Thursday, March 3, 2011

Pottery Barn Inspired Spring Blossom Branches

Spring is almost here and I don't know about you but I am so ready.  I love this time of year because everything starts to turn GREEN!  I have really had the springtime itch lately and decided I NEEDED to create some spring feeling in my house...
Garden Trellis Bench
Have you seen all the green in the new Pottery Barn catalog....LOVE...and it is just screaming out for me to sit on that bench and enjoy a warm spring day!
Faux Pear Blossom Branch
I was inspired by these faux pear blossom branches...but for $39.00...I decided to create something similar on my own.
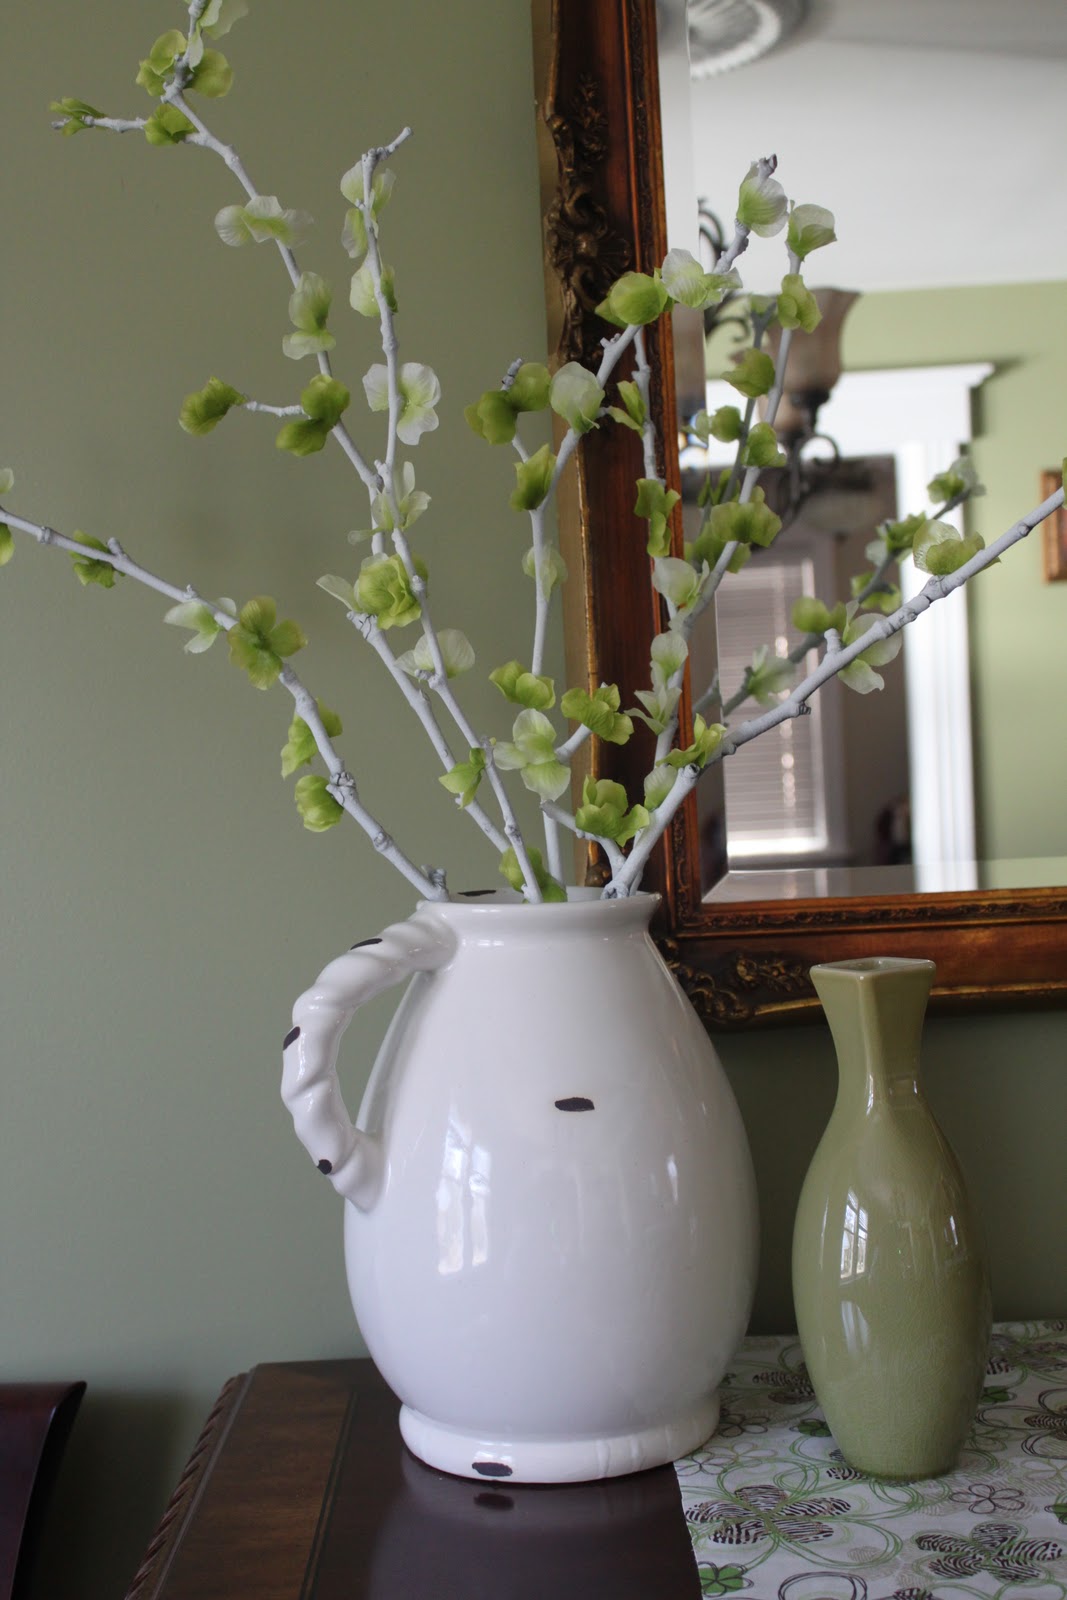
I gathered a few sticks from the yard and spray painted them white.
I picked up some green hydrangeas stems from my local craft store.
Then I pulled off the flowers and hot glued them at each stub(I'm pretty sure that not the technical term...but you know where I mean...right?) on the branch where a normal flower bud would bloom.
And now they look like this...not an exact match...but still the perfect pop of spring in my dining room. 
 

I'm still working on the rest of my "spring" dining room vignette...but check back and I will show you soon!

Thursday, February 17, 2011

Kitchen Labels

If you read one of my first posts on my blog, one of my goals for this year was to get organized.  My family spends so much time in our kitchen.  It's the first place people see when they enter from the back door, we gather there in the mornings before work and after work to eat dinner, my son likes to color at his table and play with cars on the floor, my husband and I work on our lap tops...the list could go on and on.  Needless to say because we use it that much, it also gathers clutter and stuff...so I have some great projects coming up in the kitchen!

Today I wanted to show you how I quickly spiced up my kitchen canisters...
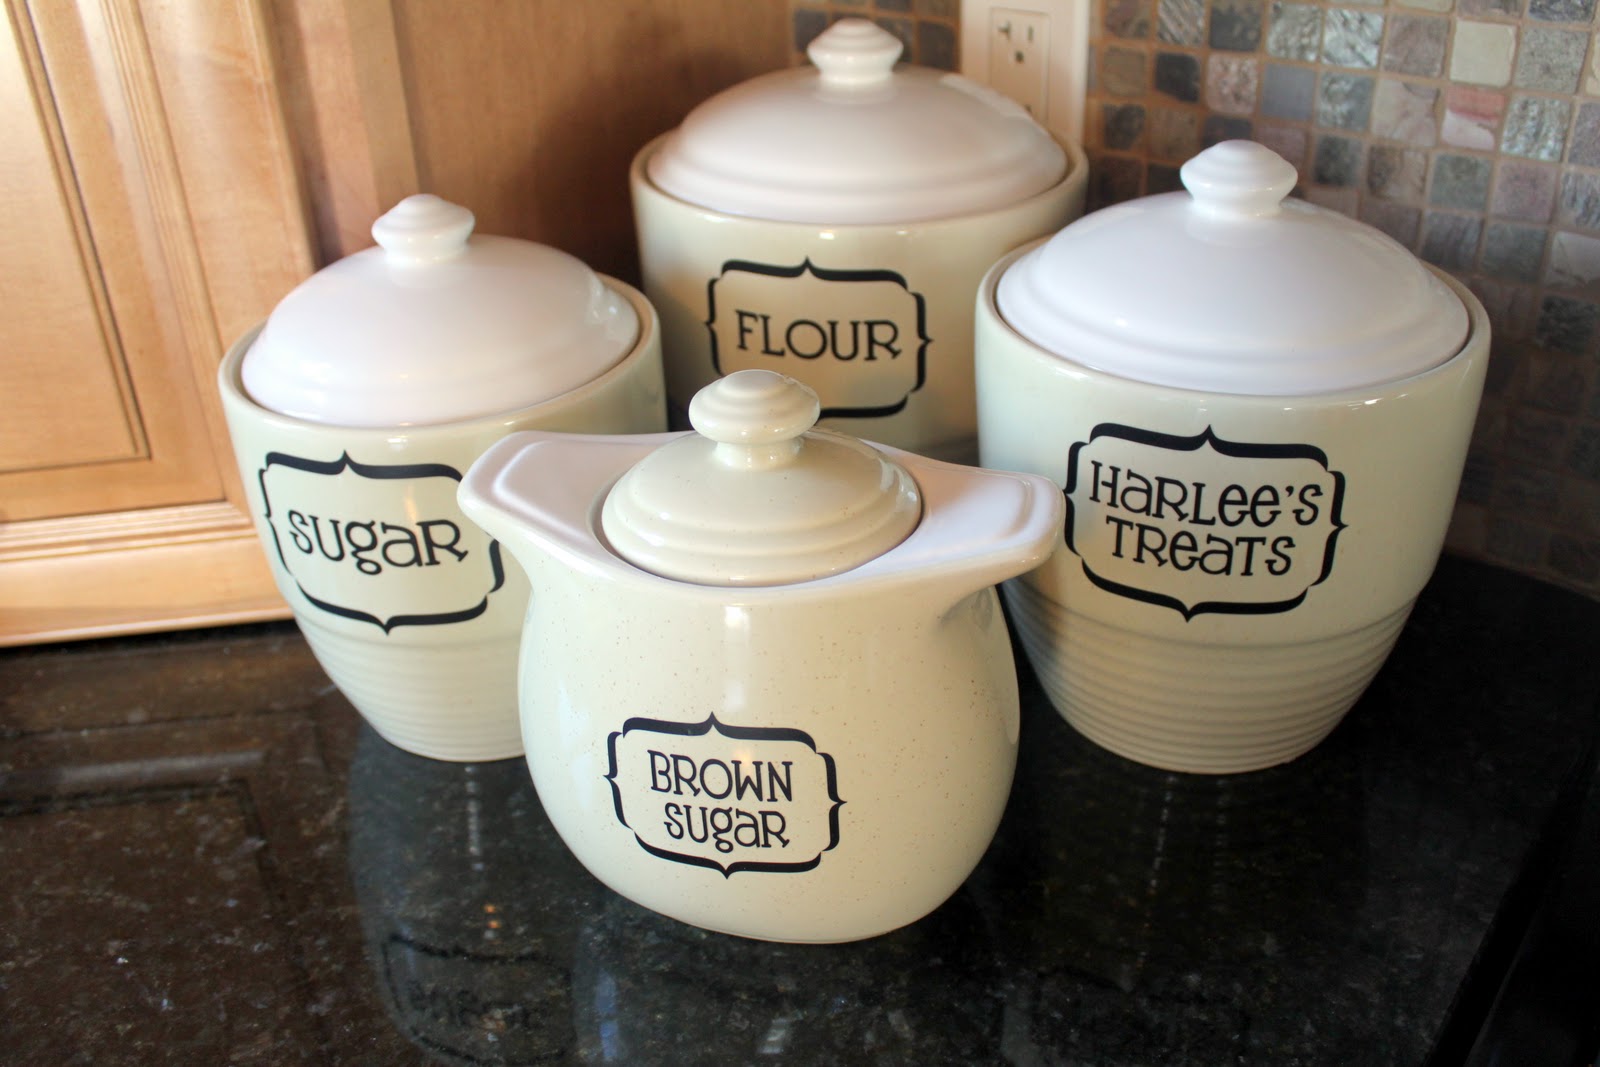
THE BEFORE...Canisters I have had for a few years, that match my dinnerware (which are Pfaltzgraff Cappuccino).


I added these custom labels I ordered from Say it On The Wall that say Flour, Sugar, Brown Sugar, and Harlee's Treats.  Aren't they great!  And now my boring canisters look like this...
And this week Say It On The Wall is going to offer all of my readers 30% off any kitchen related product!  Just use promo code TIZZI30.  But hurry because the offer expires Monday, February 28th 2011!!
Picture of Kitchen Labels
Look at the organization it brings to this pantry.  You can even choose the size, font, and color of the labels.  They are only $2.50 per label or $17.50 for a set of 10.  And don't forget to enter TIZZI30 for an extra 30% off!

I can't wait to show you my next project with Say It On The Wall! 
It's for the kitchen too, so stay tuned!

Wednesday, February 16, 2011

Giving my Big Boy a Big Boy Bedroom

I have bitter sweet feelings about my lil man's 2nd birthday next week.  I LOVE that he is talking non-stop (just like his mommy), constantly on the go, and he'll copy just about anything you show him how to do, BUT all this means my baby...is not much of a baby anymore. 

This weekend we spent some more time on our bedroom makeover (I promise it's coming soon....but now I have another project in mind I want to finish) and we also decided to give little G's room a few changes and make it less baby....more BIG BOY! 

I will show you his whole room next week (because these "little" projects never take just one day).  I wanted to start by showing you a project I finished last night, that I am in LOVE with...and little G thinks it's pretty neat too!
Lil G's room is painted light green and his baby stuff was light green, brown and baby blue.  We decided to add some pops of bright colors to transform the room, without repainting and starting over.  And some cars and trucks of course since that is what he LOVES right now.  I started with some some fun print card stock in primary colors. 
I picked up this white picture ledge shelf and these colored frames at Ikea this weekend!  Don't you just love Ikea, especially their children's stuff?!  The front protection on the frames is made from durable plastic that makes it safe for kids!  I framed the card stock and used vinyl I cut on my Cricket machine to make the numbers 1,2,3 and the green car.  The vinyl I placed on the outside of the frame, that way I could either change the card stock in the back or change the vinyl on the front of the frame to change the look without completely changing the project.
My son loves to draw and create things right now, so I thought I would give him somewhere to display his artwork that he could enjoy.  And what better touch can you add to a kids room then to make it their own with something they created themselves!  I attached some bright green ribbon along the base of the ledge with white thumb tacks.

 
Then punched some circles out of my leftover card stock and attached them to the front of these clothes pins with some hot glue.  Cute little artwork clips!
And the finished product...

We already had the shelf with his name letters on it, so we just added this shelf under it.  My husband was a little afraid about him being able to reach it, but he still has a ways to go for that and everything is very kid friendly!

And with some of his artwork :) 
Can't wait to show you the rest but we have a very busy birthday weekend ahead of us!

Friday, February 4, 2011

Valentine's Day Vignette

I've mentioned before that I have ZERO Valentine's decorations.  We don't usually make a big deal about Valentine's day and I don't decorate through the house, but this year I thought I would create little a Valentine's display on the buffet in my dining room. 

 The LOVE banner was made from lace heart doilies I found on Target's dollar isle, pink vinyl letters(I cut using my Cricket), and some red and white ribbon I had on hand.

This mini wooden tray had candy in it that was given to my husband as a gift.  I empty the candy that has been in there for a YEAR, and used some pink scrapbook paper to create a cute piece.  For the large heart I used one of the same paper heart doilies, hot glued a smaller heart of crystals in the center and then glued red tissue paper along the outside similar to the process I used here.  The "love" and smaller heart were cut using my cricket. 

 The blocks and Eiffel Tower box are from the Target dollar isle as well.   

I added some ruffle ribbon I made using felt circles to one candle and some heart ribbon and a sparkly felt heart to the other.
 
What Valentine's Day display is complete without some conversations hearts.


My Valentine's Day vignette makes me smile every time I look at it.  Hope it makes you smile too :)

And HERE is more great inspiration for Valentine's decor.

I'm linking up my vignette to:
Domestic Fashionisa's Valentine's Link Up Party
Catch a Glimpse @ A Glimpse Inside